Edit 06/02/2017 - CrackMapExec v4 has been released and the CLI commands have changed, see the wiki here for the most up to date tool docs
This is going to be a multipost series going over a lot of the functionality of CrackMapExec. Although there is some documentation already on the project's wiki (which I'm still in the process of writing) I feel blog posts will help get everyone who is interested up to speed on the plethora of functionality that's been added recently.
If you're wondering what in the name of Cuthulu is CrackMapExec, here's a quick summary:
- It's a post-exploitation tool (e.g. Veil-Pillage, smbexec)
- It's meant to be the 'glue' between exploitation frameworks when pentesting Active Directory
- It's fully concurrent: you're able to connect, authenticate etc.. to multiple hosts at the same time
- It has an internal database which is used to store credentials and track users with Administrative privileges
- It's functionality is based on several other tools and libraries (a list of them are in the Github repo's README)
- It's opsec safe: everything is either run in memory, enumerated over the network using WinAPI calls or executed using built-in windows tools/features.
Part 1, will cover the basics such as using credentials, dumping credentials, executing commands and using the payload modules.
Now that you have an idea of what you're getting into, let's jump right in!
Situational Awareness
.. is extremely important. The first thing you want to do is just find out what's on the network:

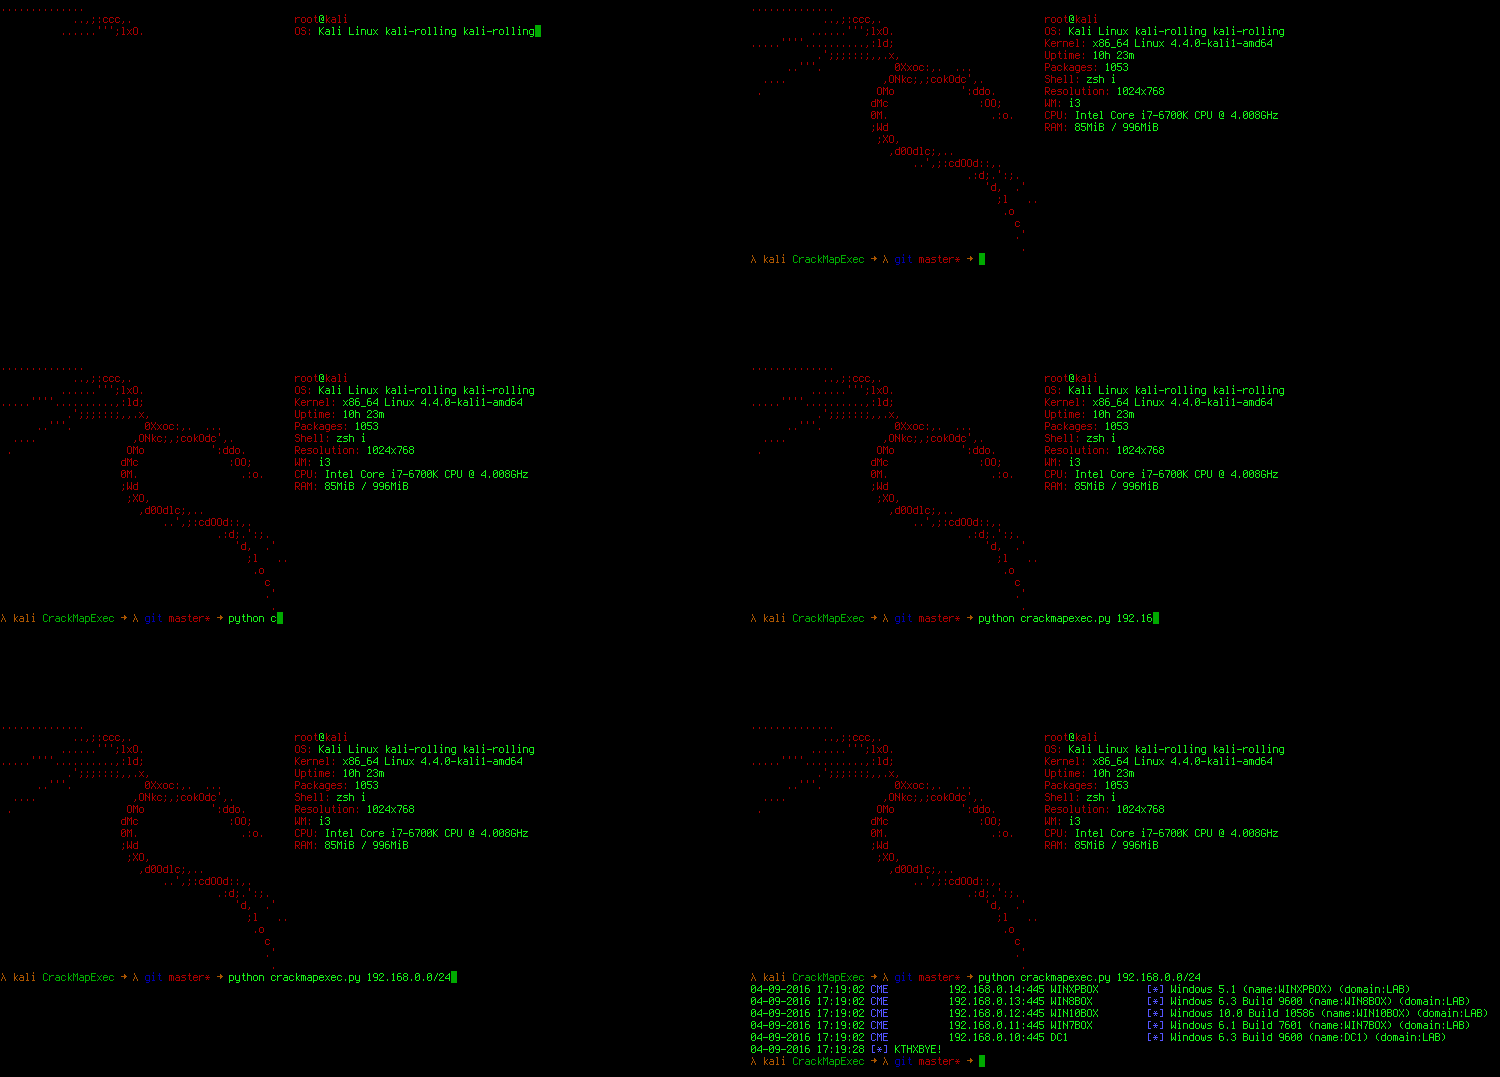
We gave CME a /24 to scan and it discovered 5 Windows boxes connected to the LAB domain on the network. By default, it spins up 100 threads: you can use the -t flag to set how many concurrent threads to use.
Perfect. We at least know what's out there. Once we have a set of credentials (in this case we have a regular domain user account), we're going to want to know what we can access. Before we go crazy on the network though lets do some quick recon to see how slow we have to take this:

We authenticated to the machine at 192.168.0.102 with our credentials and gave it the --pass-pol flag which dumped the domains password policy. From the output we can see that there's no account lockout threshold or duration. W00t! We can just spray and pray!
Now that we don't have to worry about account lockouts, lets just authenticate to every box on the /24:

Lets enumerate all the shares:

The output gives you the name of the share and the permissions the credentials you're using have over them (e.g read, write).
Noticed the yellow 'Pwn3d!' when we authenticated to the WIN10BOX at 192.168.0.12? That means we have Admin privileges on that machine!
Dumping SAM hashes and Executing commands
Now that we know our creds have Admin access over the WIN10BOX, lets go a-pilfering!
First lets see who's logged into the machine:

Oh! Seems like a domain admin is logged in!
Let's check to see if thats the case:

The -x flag executes commands via WMI by default (in this case we use the --exec-method flag to specify the smbexec execution method, this allows us to execute the command with system pivileges) we do a quick 'net user Administrator /domain' to verify that this user is indeed part of the Domain Administrators group.
Before doing anything else, let's dump the local SAM hashes (cause why not):

Perfect, we could try passing-the-hash with these later using the -H flag (these hashes are stored in CME's database and in the logs folder), but we really want clear-text credentials. Problem is this is Windows 10, so we can't dump credentials from memory... or can we?
Let's create the UseLogonCredential registry key! This allows us to re-enable the WDigest provider and dump clear-text credentials from LSA memory:

Now we have to just wait until the user logs out and back in again, however I'm impatient so I'll just log yomama off (ha!):

Payload Modules
... a.k.a where all the fun is at.
V3.0 of CME introduces Payload Modules, previously to v3.0 all Powershell functionality was built directly into the main code. Having modules allows anyone to create they're own payloads!
All currently available modules are under the modules folder.
Since we want clear-text credentials, let's use the mimikatz module! With the -m flag we specify the path to the module.

Yay! Creds! And the Domain Admin password!
Some modules require and/or support options, which you can specify with the -o flag msfvenom style:

To see the modules description and available/required options use the --module-info flag:

Obviously, all of this could have been performed on multiple hosts at the same time! It's really fun to mimikatz a /24 :D
Hopefully this gave you an idea of what CME is all about! Part 2 will go over CME's internal database, getting shells and abusing TCP enabled MSSQL Databases!
Go Top